How to Replace a Door Handle: A Simple Step-by-Step Guide
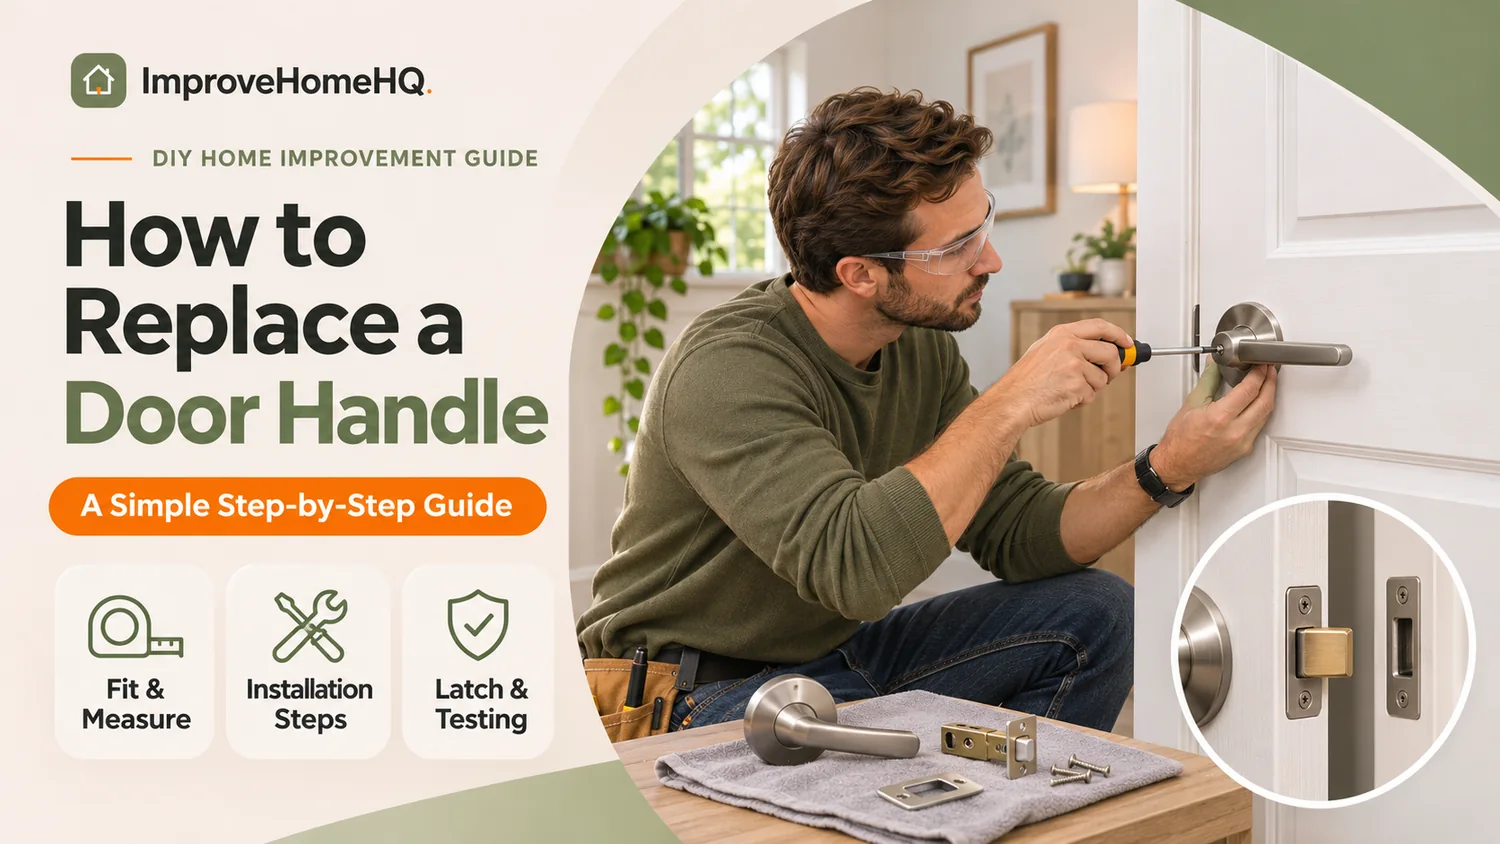
A loose, broken, or outdated door handle is usually a straightforward home repair. If your replacement fits the existing holes, you can often swap a standard door knob or lever with a screwdriver—without removing the door or drilling new holes.
To replace a door handle: keep the door open, remove the screws and old hardware, take out the latch if you’re replacing it, install the new latch, attach both sides of the new handle, and test it before closing the door. The most important part happens before installation: buying hardware that fits your door.
This guide covers typical residential interior and exterior swinging doors in the United States, not vehicle doors, sliding patio-door pulls, or specialty multipoint lock systems.
Before You Start: Make Sure the New Handle Fits
Don’t assume every handle is interchangeable. Measure the existing hardware before shopping, especially if your house has older doors or nonstandard locks.
| What to check | What to look for |
|---|---|
| Backset | Distance from the door’s edge to the center of the large handle hole; commonly 2⅜ or 2¾ inches on U.S. residential doors. |
| Door thickness | Many standard sets fit doors around 1⅜ to 1¾ inches thick, but the supported range varies by model. |
| Face bore | The large hole through the door is commonly 2⅛ inches in diameter on modern bored locksets. |
| Edge bore | The hole for the latch is commonly 1 inch in diameter. |
| Latch faceplate | Check whether the plate on the door edge has square or rounded corners—or whether the latch uses a drive-in collar. |
| Handle function | Choose passage, privacy, keyed entry, or dummy hardware to match how the door is used. |
| Lever handing | Check whether your selected lever is reversible or requires a specific left- or right-hand configuration. |
These are common dimensions, not universal rules. Schlage’s door preparation guide and hardware checklist explain the measurements. Follow the specifications for the exact product you buy.
Which type of handle do you need?
- Passage: Opens and latches but doesn’t lock. Common on hallways and closets.
- Privacy: Locks from inside and typically offers an emergency-release feature outside. Common on bedrooms and bathrooms.
- Keyed entry: Uses a key on the exterior side. Designed for doors that need keyed access; often used alongside a separate deadbolt.
- Dummy: A fixed pull that doesn’t operate a latch. Often used on some closet or French doors.
A lever can be easier to operate than a round knob. But switching styles doesn’t automatically mean the holes will match. Check the new trim’s diameter or footprint so it covers marks left by the old hardware.
Tip: Take a photo of both sides of the existing handle, the latch at the door edge, and the measurements. These are useful when matching a replacement at the hardware store.
Tools and Materials You’ll Need
For a direct replacement, gather:
- New door handle or knob set, with compatible latch and mounting hardware
- Phillips-head screwdriver
- Small flat-head screwdriver
- Tape measure
- Doorstop or wedge
- Small container for screws
Depending on the hardware, you may also need an Allen key or a small pin to release a concealed handle. A drill, chisel, safety glasses, and wood filler are only necessary if the new hardware requires alterations. Don’t start drilling simply because the new latch doesn’t line up; confirm compatibility first.
How to Replace a Door Handle in 7 Steps
The following steps work for many standard bored knob and lever sets. Some mortise locks, antique hardware, and specialty handles use a different arrangement, so consult their installation instructions.
Step 1: Open and Secure the Door
Open the door wide enough to reach the inside, outside, and door edge. Secure it with a wedge so it can’t swing shut while the handle is removed.
For an exterior door, keep a working key accessible and make sure you won’t accidentally lock yourself out. Avoid leaving an entry door unsecured or unattended during the project.
Step 2: Remove the Old Handle or Knob
Look on the interior side of the handle for two visible mounting screws. Support the other half of the handle while removing the screws so it doesn’t fall and damage the floor.
If you don’t see screws, look for a small release hole or slot near the base of the interior knob or lever. Some designs require you to press a retaining pin and slide the handle off, then gently remove or rotate the decorative cover (also called a rose) to expose the mounting screws. Other handles use an Allen-head set screw.
Don’t pry against the painted door surface. Use the manufacturer’s release method, and protect the finish if you need a small flat-head screwdriver.
Once the screws are out, pull the interior and exterior pieces away from each other. If the handle has a separate square spindle, slide it out and keep it with the old parts.
Step 3: Remove the Old Latch (If Needed)
Look at the narrow edge of the door. The latch is the mechanism with the spring-loaded bolt that extends into the door frame.
Remove the two screws holding its faceplate, then pull the latch straight out. If it’s snug, gently work it free without splitting the wood or scratching the finish.
You can sometimes reuse a sound existing latch when fitting compatible replacement trim, but don’t mix parts from different locksets unless the manufacturer specifically approves the combination. Installing the new matching latch is generally the simplest approach.
The strike plate is the separate metal plate on the door frame. It usually doesn’t need replacement if the new latch engages it correctly.
Step 4: Set the New Latch’s Backset
Before inserting the new latch, hold it alongside the old one and compare their lengths. Many modern replacement latches can adjust between 2⅜ and 2¾ inches. Use the adjustment method shown in your hardware’s instructions; some twist, while others use a sliding pin or mechanism.
Hold the latch against the door edge and confirm that its opening aligns with the center of the large hole. If it doesn’t, recheck the backset setting rather than forcing it into place.
Step 5: Install the New Latch
Slide the latch into the hole at the door edge. The sloped side of the spring latch bolt should face the strike plate on the door frame, so the bolt retracts as the door closes. Some latch bolts can be reversed for the opposite door swing.
Seat the latch faceplate flush with the door edge and fasten it with the supplied screws. If your door uses a round drive-in latch instead of a rectangular faceplate, follow the kit’s separate instructions for that style.
If the new faceplate doesn’t fit the old recess, check whether an included alternative plate will fit. Cutting the door edge is a last resort, not a routine part of replacement.
Step 6: Attach the New Handle on Both Sides
Identify the inside and outside components. On a keyed entry lock, the key cylinder belongs outside and the interior locking control belongs inside.
Insert the exterior half first, guiding its spindle or connecting assembly through the appropriate opening in the latch. Fit the interior half over the connecting parts and align the mounting posts and screw holes.
Start both mounting screws by hand before tightening either one. Tighten them evenly until the hardware is secure and sits flat against the door. Overtightening can bind the mechanism or damage the trim.
Attach any decorative covers or snap-on levers as directed. On privacy hardware, keep the emergency-release tool in an accessible place outside the room—not inside the room it unlocks.
Step 7: Test the Handle Before Closing the Door
With the door still open, turn the knob or press the lever from each side. Check that the latch retracts completely and springs back when released.
If the handle has a lock, test the key, thumbturn, button, or privacy release while the door is open. Next, close the door gently and verify that the latch catches the strike plate without lifting or pushing on the door. Open it again from each permitted side.
For an entry door with a deadbolt, test the deadbolt separately. It should extend into the strike opening smoothly without forcing the door against the frame. See Kwikset’s knob installation instructions for manufacturer examples of latch alignment and testing.
What If the New Door Handle Doesn’t Work?
Most problems after installation come from alignment, mismatched parts, or screws that are too tight.
| Problem | Likely cause | What to try |
|---|---|---|
| Handle is stiff or won’t turn | Mounting screws overtightened or spindle misaligned | Loosen screws slightly, realign both halves, then retighten evenly. |
| Latch won’t retract | Spindle isn’t engaged with the latch | Open the hardware again and position the spindle according to the instructions. |
| Door won’t latch when shut | Strike plate or door alignment is off | Check where the latch meets the strike and adjust only as needed. |
| Handle feels loose | Screws aren’t fully seated or mounting parts don’t fit | Check screw engagement and confirm the set matches the door thickness. |
| Latch bolt faces the wrong way | Incorrect latch orientation | Reverse the bolt if the manufacturer permits it. |
| New trim reveals old holes or paint marks | Cover plate is smaller than the old one | Choose larger compatible trim or repair and repaint the exposed area. |
A useful diagnostic: If the latch works perfectly with the door open but sticks when closed, the problem is more likely the door or strike alignment than the new handle. Check for sagging hinges or seasonal swelling before modifying the latch.
For keyed entry hardware, don’t ignore a lock that only works when you pull, lift, or push the door. Schlage specifically recommends checking smooth locking and door alignment when installing exterior hardware.
Can You Replace a Door Knob With a Lever Handle?
Yes, if the lever set is compatible with the existing door preparation. Most conventional round knobs and levers use a similar bored-lock arrangement, but fit depends on the particular model.
Measure the backset, thickness, bore, and trim coverage before buying. Look for a reversible lever when possible; otherwise select the correct handing using the manufacturer’s diagram. A lever installed in the wrong orientation may point awkwardly or operate improperly.
You may not need to change the strike plate or drill any holes. That’s one reason a compatible, like-for-like replacement is usually the easiest DIY option.
When Should You Call a Locksmith or Carpenter?
Consider professional help if the door has a mortise lock, multipoint locking system, unusual antique hardware, severe damage around the holes, or a nonstandard thickness that your chosen hardware doesn’t support.
A locksmith is a sensible choice for complex entry locks or a key cylinder that won’t function properly. A carpenter may be better suited to repairing a split door edge, correcting significant door sag, or modifying a door for a different lock type.
If you’re working on a fire-rated door or another specially rated assembly, use hardware permitted for that assembly and follow applicable installation requirements. Don’t alter the door or latch preparation casually.
Common Questions About Replacing Door Handles
Can I change a door handle without replacing the latch?
Sometimes. Certain handles are sold as compatible trim for an existing latch or lock mechanism. However, complete replacement sets commonly include a matching latch, and mixing unrelated hardware can prevent proper operation. Follow the manufacturer’s compatibility guidance.
Can I replace a door handle without drilling holes?
Usually, yes, when the new handle matches the existing backset, hole dimensions, mounting configuration, and door thickness. Measure first to avoid unnecessary changes.
How do I remove a door handle with no visible screws?
Check the interior knob or lever neck for a small release slot, pinhole, or set screw. Release the handle as directed, remove the decorative cover, and access the hidden mounting screws. The exact method varies by brand and model.
Do I need to remove the door from its hinges?
No. For a typical handle replacement, secure the door in an open position and work on it while it remains hung. Door removal is more likely when replacing or extensively modifying the entire door.
Are interior and exterior door handles interchangeable?
Not always. Passage handles don’t provide keyed security, privacy sets have different locking and emergency-release functions, and entry hardware may have special weather or security requirements. Choose hardware designed for the door’s use.
How long does it take to change a door handle?
A straightforward, compatible replacement often takes around 15–30 minutes, although concealed fasteners, unfamiliar hardware, or alignment problems can extend the job. Allow more time if modifications are required.
The Bottom Line
Replacing a standard residential door handle is a manageable DIY project when the new hardware fits the existing door. Measure first, keep the door open throughout installation, orient the latch correctly, and test every function before relying on the door again. If the latch binds or the lock doesn’t work smoothly, correct the fit instead of forcing it.