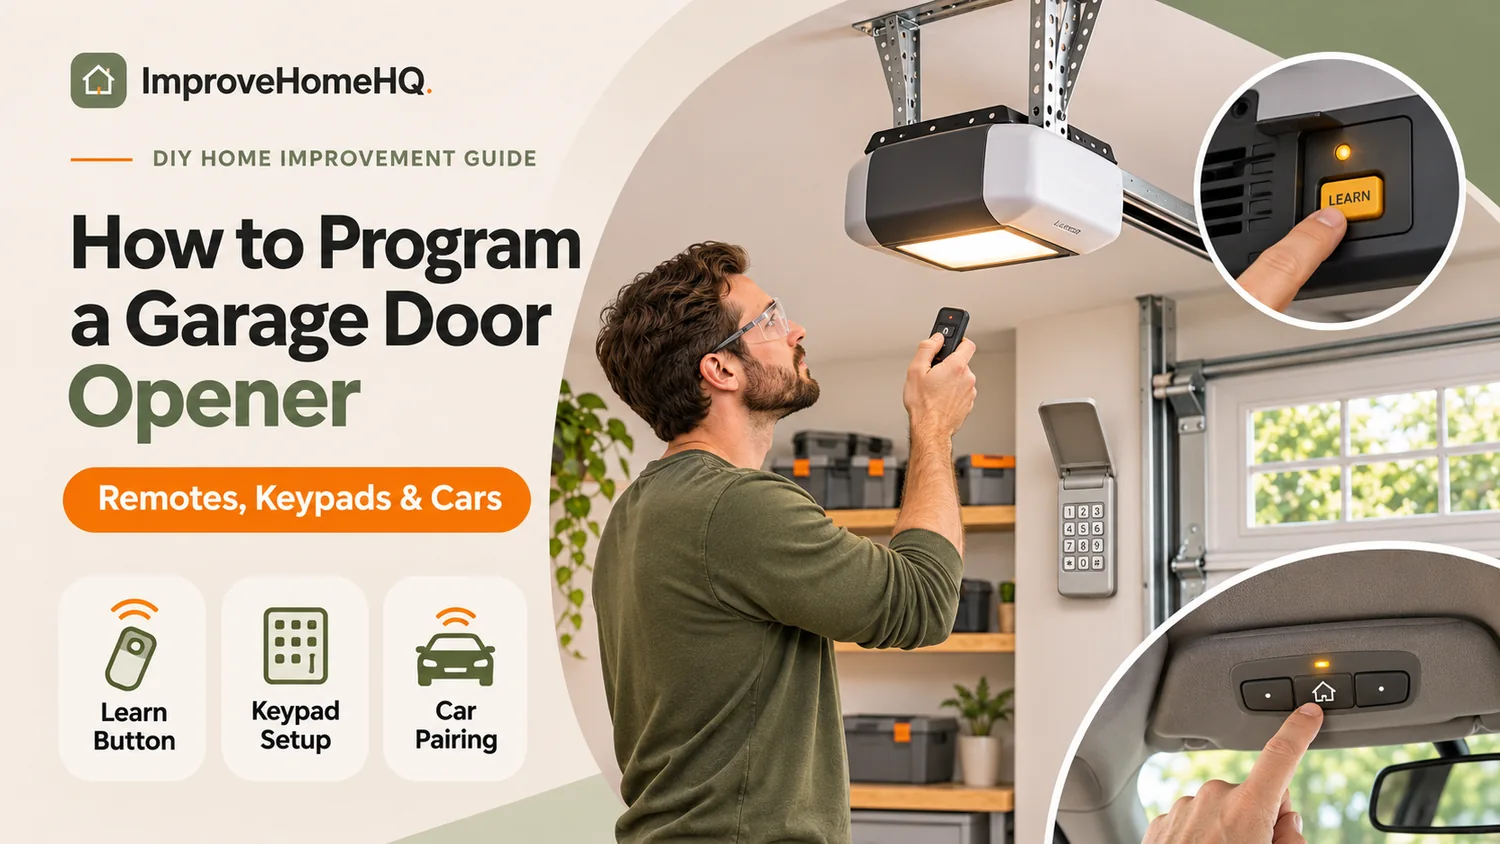
How to Program a Garage Door Opener: Remotes, Keypads, and Cars
Quick answer: To program a compatible Chamberlain or LiftMaster garage door remote, find the Learn button on the opener, press and immediately release it, then press and hold your chosen remote button within 30 seconds. The opener may flash its lights or click twice to confirm pairing. Genie, HomeLink, and universal remotes may require different steps, so check your brand and model before starting.
A new remote, a replacement keypad, or the built-in buttons in your car can all make getting into your garage easier—once they’re connected to the opener. Most setups take only a few minutes, but the button sequence depends on the equipment you’re using.
This guide covers the most common residential openers in the United States, including Chamberlain, LiftMaster, Craftsman, Genie, and Overhead Door systems. You’ll also learn what to do when the remote won’t pair, how to remove a lost remote, and when a problem calls for repair rather than reprogramming.
Before You Start: Identify Your Opener and Remote
Check the label on the motor unit, usually mounted near the garage ceiling, for the brand and model number. Then identify what you’re trying to connect:
- Handheld remote or clicker: A battery-powered transmitter with one or more buttons.
- Wireless keypad: An outdoor entry pad that typically uses a personal identification number (PIN).
- Built-in vehicle controls: Buttons in a sun visor, overhead console, or mirror, often using HomeLink.
- Smartphone access: A separate Wi-Fi or app setup, such as myQ or Aladdin Connect, on supported models.
Have the remote, a working battery, your opener’s manual, and a stable stepladder nearby. Keep children, pets, vehicles, and other obstructions away from the door. The door may move while you’re pairing or testing a device.
Safety first: Do not touch the door’s springs, cables, brackets, or other high-tension hardware. Programming normally requires access only to the opener’s controls. If the door is damaged, moves unpredictably, or doesn’t reverse when it should, stop using it and arrange professional service.
Where Is the Learn Button on a Garage Door Opener?
On many Chamberlain, LiftMaster, and compatible Craftsman units, the Learn button is on the back or right side of the motor housing, close to the hanging antenna wire. It may sit behind a light lens or small access panel. Depending on the model, it can be yellow, purple, red/orange, or green. Some wall-mounted openers use a Learn button on the wall control instead.
Genie openers may have a Learn Code button or a Program/Set button and separate indicator LEDs. The names and LED behavior matter; do not assume every brand follows the same sequence.
Do not hold the Learn button unless the instructions specifically tell you to. On many Chamberlain/LiftMaster models, holding it for about six seconds erases stored remote and keypad codes instead of adding one.
How to Program a Garage Door Opener Remote
The following steps apply to many compatible Chamberlain and LiftMaster handheld remotes. They are also relevant to certain Craftsman openers built on compatible Chamberlain technology, but you should verify your specific model first.
- Close the garage door and clear the area. Stand where you can see the door and opener.
- Find the Learn button. Use a stable ladder if the button is on the ceiling-mounted motor unit.
- Press and immediately release Learn. The nearby indicator LED should illuminate, indicating the opener is ready to pair.
- Within 30 seconds, press and hold the chosen remote button. Release it when the opener lights flash or you hear two clicks. Follow your remote’s instructions if they specify a different button sequence.
- Test the remote. Move clear of the door and press the newly programmed button. Confirm that the door responds normally.
- Repeat for other remotes. Start another Learn-button cycle for each additional compatible transmitter.
If the LED times out before pairing is complete, start over. If the remote doesn’t respond, replace its battery and confirm compatibility before repeating the process.
Manufacturer reference: Chamberlain Group: How to Program a Remote Control.
What Do the Different Learn Button Colors Mean?
The button color helps identify the radio system and which replacement remotes may be compatible. It doesn’t mean you can use any remote with a matching-looking button.
| Learn button color | What to know |
|---|---|
| Yellow | Used on many newer Chamberlain/LiftMaster systems; choose a remote listed as compatible with the specific opener. |
| Purple | Indicates a different generation of Chamberlain/LiftMaster receiver technology; check its approved remote list. |
| Red or orange | Found on certain earlier models; compatibility differs from yellow and purple systems. |
| Green | Common on some older models; verify the model and replacement remote before purchase. |
For a definitive match, use Chamberlain’s official remote and keypad compatibility guide. A replacement remote advertised as universal is not automatically compatible with every opener.
Can You Program a Remote From the Wall Control or myQ App?
Sometimes. On supported Chamberlain and LiftMaster systems, you may be able to avoid climbing a ladder:
- LCD smart wall control: Open the menu, select Program and then Remote, and hold the desired remote button until the opener confirms pairing.
- Wall control with a Learn button: Certain models enter remote programming mode when you press and release the wall-control Learn button twice. Follow the control’s specific instructions.
- Compatible Wi-Fi opener in myQ: In the app, open the device/accessory setup options and select Garage Door Remote. Follow the on-screen pairing instructions. Availability and menu labels depend on your opener, remote, and app version.
Do not assume that a separate myQ hub can program handheld remotes through the app; Chamberlain directs users with some hub-based setups to the opener’s physical Learn button instead.
How to Program Genie Garage Door Opener Remotes
Genie commonly uses Intellicode technology, but the setup differs between older Learn Code openers and newer Program/Set models. The steps below reflect Genie instructions for compatible G1T remotes; other Genie and universal remote models can differ.
Genie Openers With a Learn Code Button
- Locate the Learn Code button and its indicator light on the opener.
- Press and release Learn Code. The red indicator begins blinking.
- Press and release the chosen button on the compatible Genie remote. The indicator changes to a steady light.
- Press and release the remote button again. The opener’s Learn Code light goes off.
- Press the remote button once more to operate the door and verify the pairing.
Genie Openers With a Program/Set Button
- Press and hold Program/Set until the small round LED turns blue, then release it.
- Wait for the long LED to blink purple.
- Press and release the desired remote button. The long LED turns solid purple.
- Press and release the same remote button again. The indicator lights blink blue and switch off.
- Press the remote button again to test the door.
Manufacturer reference: Genie G1T programming instructions. For another Genie remote, find its exact model in Genie’s remote and keypad programming library.
How to Program a Garage Door Keypad
A wireless keypad needs both an approved PIN and a connection to the opener. The exact order depends on the keypad model, so don’t treat remote-control steps as universal keypad instructions.
Chamberlain and LiftMaster Keypads
On many compatible keypads, the general process is to enter keypad programming mode, choose a PIN, activate the opener’s Learn mode, and send the PIN to the opener. However, the buttons and order vary by keypad, including whether you use ENTER, a separate PROGRAM key, or a model-specific sequence.
Find the keypad model inside its battery compartment or on its housing, then follow Chamberlain’s model-specific keypad instructions or the keypad owner’s manual. Test the PIN from outside after the keypad has been mounted.
Genie GK-R Wireless Keypad
For the Genie GK-R keypad, Genie provides a specific setup process:
- With the backlighting off, press 3-5-7, followed by PROGRAM.
- Enter a new PIN containing three to eight digits, then press PROGRAM again. The keypad confirms that the PIN has been stored.
- Put the Genie opener into programming mode using its Learn Code or Program/Set button, as appropriate for the model.
- Enter your new PIN on the keypad.
- Press UP/DOWN slowly, up to three or four times, until the opener operates.
- Let the keypad time out, then test the PIN and UP/DOWN button again.
Those instructions are for the GK-R model; older Genie wireless keypads and universal keypads can follow different steps. See Genie’s GK wireless keypad instructions.
Security tip: Avoid obvious codes, such as repeated digits or your street address. If you suspect someone knows your PIN, change it promptly according to the keypad manual.
How to Program a Garage Door Opener in Your Car
Many vehicles have built-in HomeLink buttons, often in the visor or rearview mirror. HomeLink usually needs to learn the signal from a working handheld remote. For openers using rolling codes, you often must also complete a second step at the garage door motor unit.
- Park outside the garage, with the door in view and the area clear. Check your vehicle manual; some vehicles require accessory or ignition power.
- Choose a HomeLink button. If you’re setting up a used vehicle, follow its manual to clear previous settings if needed. Avoid clearing all buttons if you want to retain other programmed devices.
- Train HomeLink with the existing remote. Hold the handheld transmitter a few inches from the HomeLink buttons, then use your vehicle’s prescribed button sequence until the HomeLink indicator changes its blinking pattern.
- Check whether rolling-code pairing is required. If the HomeLink indicator signals that it learned a rolling-code transmitter but the door doesn’t operate, find the opener’s Learn or Program button.
- Complete pairing at the opener. Press and release the opener’s programming button, then return to the vehicle and press the trained HomeLink button as directed by your vehicle and opener manuals. It may take more than one press.
- Test from a safe position. Confirm that HomeLink operates only the intended door.
Some vehicles use a different training procedure, and certain newer Overhead Door models have serial-number-specific instructions. Consult HomeLink’s official support guide and Overhead Door’s HomeLink programming instructions for your equipment.
What If You Don’t Have the Original Remote?
Traditional HomeLink setup often relies on a working remote to teach the vehicle the correct signal. If you don’t have one, check whether your specific vehicle and opener support an alternative direct-training method, or obtain a compatible replacement remote first. A missing remote doesn’t mean every opener can be paired directly with every car.
How to Program a Universal Garage Door Remote
A universal remote works only with the opener brands, frequencies, and security systems listed in its compatibility chart. Unlike many brand-specific remotes, it may need two stages: selecting the opener type or ID on the remote, then teaching the opener to recognize it.
- Find the opener’s brand, model, and Learn button type.
- Locate the corresponding entry in the universal remote’s compatibility chart.
- Put the remote into its specified setup mode and select the correct opener ID or mode.
- Enter the opener’s Learn or Program mode when instructed.
- Send the pairing signal from the universal remote as its instructions direct.
- Test every programmed button independently.
Don’t guess the number of button presses. For example, Genie universal remotes have their own model-specific setup and compatibility tables. Also, some universal remotes are not intended for garage door openers made before 1993. See Genie’s GU4T universal remote instructions.
How to Reset or Reprogram a Garage Door Opener
Adding a new remote is different from erasing all existing remotes. If you’re simply replacing a dead battery or adding another household remote, there’s generally no need to clear the opener’s memory.
You may want to erase stored codes when a remote is lost or stolen, when you move into a home, or when you need to remove access previously given to someone else.
Erase Stored Remote Codes on Chamberlain or LiftMaster
For many Chamberlain/LiftMaster openers with a colored Learn button:
- Locate the Learn button on the motor unit.
- Press and hold Learn for approximately six seconds, until the indicator LED turns off.
- Release the button. The stored remote and keypad codes covered by that reset should now be erased.
- Reprogram every remote and keypad you still want to use.
- Test a previously paired device to confirm it no longer works, then test each newly paired device.
The reset procedure and what gets erased can differ on newer Wi-Fi and myQ-enabled systems; some devices and settings may require separate clearing steps. Follow the instructions for your exact opener rather than repeatedly holding buttons. See Chamberlain’s Learn/Program button functions.
Do You Need to Reprogram After a Power Outage?
Usually not. Many openers retain their saved remote codes when the power goes out. First check that power has returned, the opener is plugged in, and the wall control works. If a battery-backup model reports an issue, consult its manual. Re-pair a remote only if it actually lost its connection or the manufacturer directs you to.
If the door was manually released during the outage, follow your owner’s manual to reconnect the trolley or drive system before expecting the motor to move the door normally.
Garage Door Remote Not Programming? Troubleshooting Checklist
If you followed the steps and nothing happened, work through these checks before resetting everything.
| Problem | Likely cause | What to try |
|---|---|---|
| The opener never enters Learn mode | Wrong button, wrong procedure, or opener issue | Check the model-specific manual and watch the LED behavior. |
| The remote LED is dim or doesn’t light | Weak, dead, or incorrectly installed battery | Install the specified fresh battery with correct polarity. |
| The opener enters Learn mode but won’t pair | Incompatible remote or incorrect programming sequence | Verify compatibility and repeat the exact sequence within the allowed time. |
| The remote works only when very close | Low battery or radio-frequency interference | Replace the battery and test with nearby LED garage lights off. |
| The remote operates a different door | Wrong button assignment | Reprogram the intended button to the intended opener. |
| A remote stopped working after another was added | Codes may have been erased accidentally | Reprogram existing remotes; avoid holding Learn unless resetting memory. |
| The opener lights respond but the door won’t move normally | Door, safety sensor, or mechanical issue | Check visible obstructions and sensor indicators; do not bypass safety devices. |
Check Remote Compatibility Before Buying Another One
A remote may look identical to your old clicker yet use a different radio protocol. Identify the opener model and, when relevant, the Learn-button color. Purchase only a manufacturer-approved replacement or a universal model that explicitly lists your opener.
Check Radio Interference and Range
If a remote pairs successfully but has poor range, replace its battery and test from different positions. Certain LED bulbs, electronic equipment, and nearby transmitters can interfere with reception. Chamberlain specifically lists LED light bulb interference as a possible cause of poor remote performance. If you’re testing bulbs, use lighting approved for your opener and follow electrical safety precautions.
Don’t Confuse Programming Issues With Sensor Problems
If the wall switch operates the motor but the remote doesn’t, pairing or remote compatibility is worth checking. If neither control can close the door, inspect for obvious obstructions and check the photoelectric sensor indicator lights. Misaligned sensors, wiring faults, or mechanical binding won’t be fixed by adding a remote.
Garage door safety systems are not optional. The U.S. Consumer Product Safety Commission explains that residential automatic garage door openers manufactured on or after January 1, 1993, are subject to additional entrapment-protection requirements. Never defeat or bypass a safety-reversal system just to make the door close.
Common Programming Mistakes to Avoid
- Holding the Learn button too long. On many openers, that clears existing codes instead of adding a new one.
- Assuming every brand uses the same sequence. Genie Program/Set instructions, Chamberlain Learn-button pairing, and vehicle HomeLink training aren’t interchangeable.
- Using an incompatible remote. The correct frequency alone doesn’t guarantee compatibility with a rolling-code system.
- Trying to program several remotes in one Learn window. Follow the maker’s process for each device.
- Skipping the final safety check. Pairing is complete only when the intended control operates the door safely and reliably.
- Resetting everything after a power outage. Test power and existing controls before erasing saved devices.
Frequently Asked Questions
How long does it take to program a garage door remote?
A straightforward remote pairing often takes around five minutes once you have the correct instructions. Vehicle HomeLink training, universal remotes, and troubleshooting can take longer.
Can I program a garage door remote without a Learn button?
Possibly. Some supported systems let you use a smart wall panel or the manufacturer’s app, while older systems may have a different programming arrangement. Check the opener’s model number and manual; don’t assume that a Learn button is hidden on every opener.
Can I use one remote for two garage doors?
Yes, if the remote supports multiple doors and is compatible with both openers. You typically assign a different remote button to each door, following the appropriate pairing process separately.
Will programming a new remote erase my old one?
Normally, no. Adding a compatible remote should not erase existing controls. However, holding a Learn button for the reset duration or using a memory-clear function can remove previously saved codes.
Why does my garage door opener click but not open?
A click can indicate that a pairing signal was received, but it doesn’t prove the door mechanism is working. Check whether the wall control operates the door, look for sensor warnings, and consult the troubleshooting section of the owner’s manual. If the door binds, makes unusual noises, or has damaged hardware, contact a qualified technician.
Can I connect my phone to any garage door opener?
No. App-based operation requires compatible built-in Wi-Fi hardware or an approved smart-garage accessory. Follow the manufacturer’s compatibility list and setup instructions for products such as myQ or Genie Aladdin Connect.
Do I need a professional to program a garage door opener?
Usually not for a standard compatible remote or keypad. Hire a qualified garage door technician if the opener won’t enter programming mode, electrical or control-board issues are suspected, the door operates unsafely, or the mechanical system needs repair.
Final Takeaway
Start by identifying your opener’s brand, model, and the device you’re connecting. For many Chamberlain and LiftMaster remotes, a quick Learn-button press followed by the remote button is enough. Genie remotes, keypads, universal clickers, and in-car HomeLink systems need their own instructions.
The two rules that prevent most headaches are simple: verify compatibility before pairing, and don’t hold the Learn button unless you’re deliberately clearing stored codes. If the opener still won’t respond, check the battery, programming sequence, and safety system before assuming the remote is faulty.