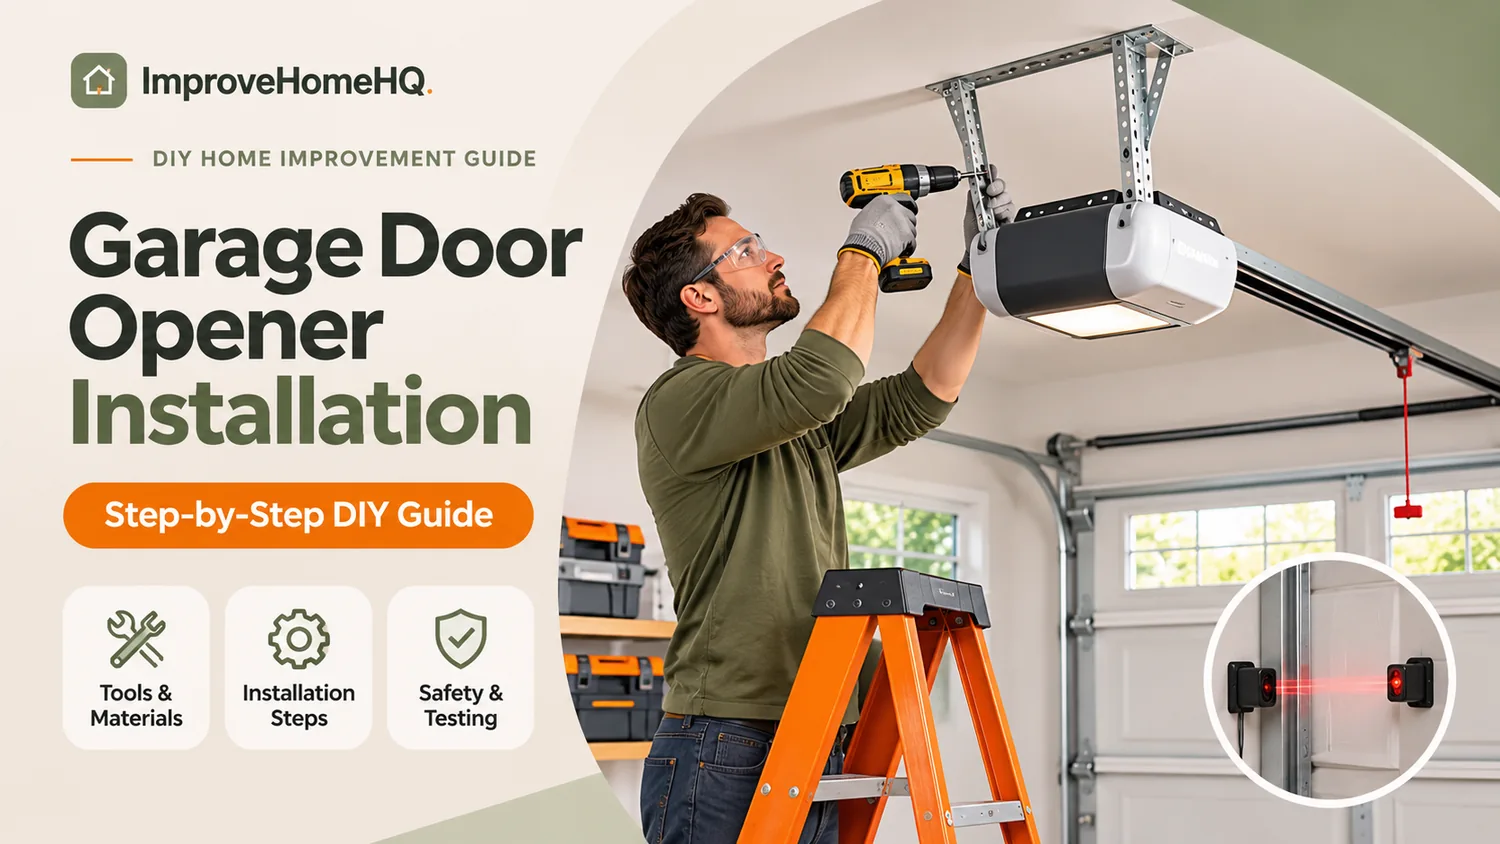
Garage Door Opener Installation: Step-by-Step DIY Guide
Installing a garage door opener is a realistic DIY project for homeowners comfortable using a drill, locating structural framing, and following a manufacturer’s instructions. For a typical ceiling-mounted opener on a properly balanced sectional door, the job involves assembling the rail, securing the motor, connecting the door arm, installing safety controls, and testing the system.
Quick answer: Plan about 4–6 hours for a first-time installation and ask someone to help lift the motor. Do not work on torsion springs, extension springs, lifting cables, or related tensioned hardware. If the door is damaged or difficult to move manually, have it repaired before fitting an opener.
This guide covers standard residential belt-drive and chain-drive openers. Your exact model’s installation manual controls bracket placement, fastener selection, wiring, travel settings, and safety tests. Wall-mounted jackshaft openers follow a different process.
Can You Install a Garage Door Opener Yourself?
Yes, if the garage door is properly balanced, the opening has suitable structural framing, and a grounded electrical outlet is available. You’ll need basic mechanical skills, stable ladders, and a helper for overhead work.
DIY is a reasonable option when:
- The sectional door rolls smoothly by hand and stays reasonably balanced.
- The opener is rated for your door’s size and design.
- The header and ceiling provide suitable framing for mounting.
- You can follow the manufacturer’s instructions and test the safety systems.
Call a professional instead if you notice broken springs, frayed cables, bent tracks, damaged sections, an unusually heavy door, or insecure framing. An opener should move a balanced door—not compensate for a failing spring system. Electrical outlet installation may also require a qualified electrician.
Cost and Time: What to Expect
Installation costs vary by opener type, regional labor rates, and whether the garage needs framing, outlet, or door repairs.
| Expense | Illustrative budget |
|---|---|
| Basic chain-drive opener | 150–300 |
| Belt-drive opener | 200–450 |
| Wall-mount opener | 350–650+ |
| Professional installation labor | 150–350+ |
These are planning estimates, not current national averages or firm quotes. For a precise budget, compare local prices for a compatible model and ask installers whether removal, accessories, reinforcement, programming, and safety testing are included.
An intermediate DIYer may need around 4–6 hours, according to Lowe’s installation guide. An experienced installer may finish faster; a complicated first installation can take longer. Never cut short the testing stage to meet a schedule.
Choose an Opener That Fits Your Door
Before buying, check the door’s height and width, the available headroom, construction, and the manufacturer’s compatibility limits.
Drive Type and Noise
| Opener type | Best reason to choose it | Consideration |
|---|---|---|
| Belt drive | Quieter operation near living spaces | Often more expensive |
| Chain drive | Common, economical option | More mechanical noise |
| Screw drive | Suitable for certain approved configurations | Model-specific upkeep |
| Wall mount | Preserves overhead ceiling space | Requires a compatible torsion-shaft system |
A belt drive can reduce motor-and-drive noise but cannot fix rattling rollers or loose hinges. Wall-mounted models are not installed using the overhead-rail steps below.
Height, Weight, and Features
Many opener kits are configured for a 7-foot-high sectional door. Taller doors may need an approved extension kit. Check rail compatibility, not just motor horsepower. Properly functioning springs counterbalance the door’s weight, so selecting a more powerful motor is not a solution for a heavy, unbalanced door.
Useful options include a battery backup, rolling-code remotes, smartphone controls, and soft-start operation. Check whether a smart model requires a particular Wi-Fi network or app.
California rule: Residential openers sold or installed in California on or after July 1, 2019, must have qualifying battery-backup capability. California also restricts connecting a replacement residential garage door to an existing noncompliant opener. Verify your chosen model before purchase.
Tools, Parts, and Preparation
Most kits contain the motor, rail, trolley, belt or chain, header and hanging brackets, door arm, photo-eye sensors, wall control, and remotes. Compare the box contents with the manual before starting.
Tools to gather: drill and suitable bits, socket and wrench set, screwdrivers, tape measure, level, stud finder, wire stripper for approved low-voltage wiring, pencil, eye protection, and sturdy ladders. You may also need manufacturer-approved steel hanging angle, structural fasteners, a door reinforcement bracket, or a rail extension.
Do not assume an old rail, remote, sensor, or mounting bracket is compatible with the new model.
Check the Door Before Installation
- Close the door fully. Disconnect power to any existing opener.
- Inspect visually. Look for frayed cables, broken springs, loose brackets, damaged rollers, and bent tracks. Do not touch tensioned components.
- Check manual movement only if safe. Release the old opener as instructed, then carefully lift the door. It should travel smoothly and not feel excessively heavy. A properly balanced door should not rapidly fall or rise when partially open.
- Stop if anything is wrong. A trained technician should correct door-balance and spring problems before the new opener is fitted.
- Clear the work area. Move vehicles and stored items, keep children away, and disable manual door locks as directed.
Never loosen a torsion spring bracket, cable drum, bottom bracket, or spring anchor as part of an ordinary opener replacement.
How to Install a Garage Door Opener in 10 Steps
These are the common stages for a ceiling-mounted opener on a compatible sectional garage door. Model-specific diagrams matter, especially for the header height, structural fasteners, door reinforcement, and initial travel setup.
Step 1: Assemble the Rail and Trolley
Lay the rail sections on the floor in the order shown in the manual. Join them fully, installing the trolley at the correct stage. Connect the rail to the motor unit as directed.
Fit the chain or belt around the specified sprocket and pulley components. Set its tension using the manual’s procedure or tension indicator. An over-tightened drive can strain components; a loose one may malfunction. Check that the emergency release is correctly positioned.
Step 2: Mark and Secure the Header Bracket
Mark the door’s centerline and locate its highest point of travel using the approved method. The correct header-bracket height depends on the door and track design; there is no universal measurement for every system.
Attach the bracket to solid structural framing, using the fastener type and embedment specified by the manufacturer. Drywall anchors alone are not acceptable. If structural support is missing, have an appropriate reinforcement installed before continuing.
Step 3: Attach the Rail to the Header
With help, lift the rail’s front end into the header bracket and connect it using the specified pin and retaining clip. Support the other end of the assembly while preparing the motor mount.
Never leave the full motor assembly hanging unsupported from the header connection.
Step 4: Hang the Motor From Ceiling Framing
Raise the motor into position with a helper. Use the prescribed clearance method to locate its final height and check that the moving garage door will not strike the rail.
Fasten approved hanging supports to ceiling joists or other designated structural members. If the framing doesn’t line up, use an approved cross-support arrangement—not fasteners placed only into drywall.
Tighten the hardware, confirm the assembly is stable, and verify clearance with the door throughout its travel.
Step 5: Install the Door Bracket and Arm
Follow the opener and garage door instructions for locating the bracket on the top door section. Certain doors need a horizontal or vertical reinforcement bracket to prevent panel damage.
Attach the straight and curved door-arm components using the specified pins and clips. Check the required arm angle and make sure it won’t hit the header, top panel, or rail. Reconnect the trolley only as directed.
Step 6: Mount and Wire the Wall Control
Position the wall button where the door is visible, away from moving parts and out of children’s reach. Many manufacturers specify at least 5 feet above the floor.
Route the approved low-voltage cable to the opener and secure it away from tracks, rollers, and other moving parts. Connect it to the labeled terminals with power disconnected unless the manual specifies otherwise. Place the supplied safety-warning label as instructed.
Step 7: Install the Photo-Eye Sensors
Attach the sending and receiving sensors on opposite sides of the opening, close to the floor. For common residential photo-eye systems, the beam must be no more than 6 inches above the floor; follow your model’s exact approved range.
Aim them toward each other, route their wires clear of moving hardware, and connect them to the specified terminals. Confirm the model-specific alignment indicators.
Do not bypass the sensors or assume sensors from an older opener will work with the new one.
Step 8: Connect Electrical Power
Most household openers plug into a nearby, correctly grounded receptacle. Follow the instructions for when to energize the unit.
Do not remove the ground pin, permanently power the opener with an extension cord, or improvise a branch-circuit connection. If the garage lacks a suitable outlet, hire a qualified electrician as required by local rules.
Step 9: Set Travel Limits and Program Controls
Use the opener’s setup buttons or specified adjustment mechanism to establish fully open and fully closed positions. The door should open sufficiently and close against the floor without excessive pressure.
Follow the manual to set any required force or learning parameters. Do not increase force to hide binding or an unbalanced door. Stop if the door jerks, bends, or strains.
Pair the remotes and wireless keypad using the correct model-specific sequence. If your opener has Wi-Fi controls or a battery backup, complete setup according to the manufacturer’s instructions. Remove access for unused remotes or former users.
Step 10: Run the Door and Check All Safety Features
Keep the opening clear and run the door through a complete cycle while observing the rail, brackets, arm, and motor. Look for interference, shifting supports, unusual sounds, or incorrect stopping positions.
Do not begin regular use until the photo-eye and contact-reversal tests below both pass.
Essential Safety Tests After Installation
A door that opens and closes is not necessarily safe. The U.S. Consumer Product Safety Commission identifies 16 CFR Part 1211 as the mandatory federal safety standard for automatic residential garage door operators.
Photo-Eye Obstruction Test
With the door open and the area clear, start a closing cycle. From a safe position, interrupt the sensor beam with a suitable object without entering the door’s path. On a conventional system, the door should reverse as required by its instructions.
If the sensors don’t respond, check alignment, approved wiring, and diagnostics. Do not bypass them to keep the door operating.
Contact-Reversal Test
Place a 1½-inch-high rigid object, or a nominal 2×4 laid flat, beneath the door at the location specified by its manual. From a safe position, close the door. It must reverse when it contacts the obstruction.
If it does not reverse, stop using the opener. Follow the manufacturer’s approved adjustments and repeat the test, or call a professional. Never test reversal with your hand or foot.
Emergency Release and Monthly Checks
With the door fully closed and known to be safe, practice disengaging and reconnecting the trolley as instructed. Do not release an open door: a poorly balanced door may fall.
Test the safety reversal system monthly and after relevant adjustments. Chamberlain’s manufacturer guidance explicitly calls for monthly contact-reversal testing.
Replacing an Old Opener: What Changes?
A replacement can be simpler because framing and an outlet may already exist, but you still need to verify every component.
Close the garage door, unplug the old unit, and disengage the trolley according to its instructions. Have someone support the motor before removing its ceiling supports. Carefully lower the assembly without disturbing the tracks, springs, or lifting cables.
Inspect the old header and ceiling attachments. Reuse structural supports or low-voltage wiring only if they meet the new manufacturer’s requirements and remain in good condition. New opener sensors and rails should normally be used unless the manufacturer explicitly approves alternatives.
Remove access permissions for old remotes and any connected smart-home accounts. Dispose of the previous motor and battery through appropriate local channels.
Common Mistakes to Avoid
- Installing on a stiff or unbalanced door: Fix the door problem first; motor power cannot replace spring balance.
- Mounting into drywall: Both header and ceiling supports need approved structural attachment.
- Skipping door reinforcement: Some thin door sections can buckle where the opener arm attaches.
- Misplacing the photo eyes: Use the specified beam height and check alignment.
- Guessing drive tension or travel settings: Follow the model-specific procedure.
- Reusing incompatible parts: A similar-looking rail or sensor isn’t proof of compatibility.
- Rushing the tests: A normal cycle does not confirm safe reversal.
- Using unapproved electrical shortcuts: Provide a compliant permanent power supply.
Troubleshooting a Newly Installed Opener
| Symptom | Likely checks | What to do |
|---|---|---|
| Motor has no power | Plug, receptacle, breaker | Verify the approved power supply |
| Door opens but won’t close | Photo-eye obstruction or alignment | Clear beam, inspect sensor indicators |
| Motor runs but door doesn’t move | Disengaged trolley | Reconnect using manual instructions |
| Door stops early | Travel settings or mechanical binding | Review setup; inspect door movement |
| Door reverses at the floor | Closing limit or resistance | Correct settings; never override safety force |
| Loud rattling or vibration | Hanging hardware, drive, door rollers | Stop and inspect accessible parts |
| Remote won’t pair | Battery, compatibility, programming | Use the model-specific pairing process |
| Smart features disconnect | Wi-Fi coverage or network requirements | Check app and network guidance |
Stop troubleshooting and request service if the door feels unusually heavy, cables or springs look damaged, mounting hardware shifts, or the safety reversal system fails.
Maintenance That Matters
Monthly, test both reversal features, check for sensor obstructions, and observe for new noises or visible damage. Inspect accessible mounting supports and the emergency release without disturbing spring or cable hardware.
Lubricate only the door and opener components identified in their manuals. Some belts require no lubrication, and applying grease to tracks or electronics can create problems.
If you have a battery-backup model, follow the recommended battery test and replacement schedule. Review smart-app access periodically and remove permissions for devices or users who no longer need them.
Frequently Asked Questions
How difficult is garage door opener installation?
For someone with intermediate DIY skills, a standard ceiling-mounted model is manageable when the door is balanced and structural mounting points and power are available. The harder parts are overhead mounting, correct bracket positioning, and final testing.
Can I put a new opener on an old garage door?
Yes, if the door is structurally sound, moves freely, and meets the new opener’s compatibility requirements. Older doors may need approved reinforcement or repairs first.
Do I need to replace the springs?
Not for an ordinary opener replacement if the door is already properly balanced. Springs, cables, and counterbalance components should be assessed and repaired by a trained garage door professional.
Can I reuse my old safety sensors?
Only when the new opener manufacturer explicitly approves them. Otherwise use the supplied or approved replacement sensors.
Is a belt drive better than a chain drive?
A belt drive is commonly quieter, making it a good choice for attached garages. Chain drives can cost less. Neither type corrects noise or resistance caused by damaged door hardware.
Will an opener work in a power outage?
A compatible battery-backup opener may operate while utility power is out, subject to its battery condition. Without backup, a safe, properly balanced door can generally be disconnected and operated manually according to the owner’s instructions.
Do I need a permit?
Rules depend on the locality and work involved. Replacing a motor may be treated differently from installing new wiring or modifying structural framing. Ask the local building department when uncertain.
How often should I test the safety system?
At least monthly and after relevant travel or force adjustments. Follow your exact manufacturer’s instructions for the photo-eye and contact-reversal procedures.
Final Thoughts
A reliable opener starts with a sound, balanced door and correct model selection. Follow the installation manual, attach the header and motor supports to solid framing, use approved controls and sensors, and complete every safety test before regular use.
If the door binds, its springs or cables are damaged, the mounts are insecure, or the opener fails to reverse correctly, stop and bring in a qualified technician.
SEO Metadata
SEO title: Garage Door Opener Installation: Step-by-Step DIY Guide
URL slug: garage-door-opener-installation
Meta description: Learn how to install a garage door opener safely with steps for mounting, sensors, wiring, costs, testing, and common installation mistakes.
Authoritative Sources
- U.S. Consumer Product Safety Commission — Automatic Residential Garage Door Operators
- Chamberlain Group — How to Test the Safety Reversal System
- Lowe’s — How to Install a Garage Door Opener
- California Department of Housing and Community Development — Battery-backup code reference
SEO Metadata
Recommended SEO title: Garage Door Opener Installation: Step-by-Step DIY Guide
Suggested URL slug: garage-door-opener-installation
Meta description (145 characters):
Learn garage door opener installation step by step, including tools, costs, safety checks, wiring, troubleshooting, and DIY tips for homeowners.
Copy
Primary category: Doors & Windows
Recommended internal linking opportunities: Garage door opener selection, garage door insulation, programming a garage door opener, and garage door maintenance. Add links only where relevant pages actually exist on ImproveHomeHQ.
Editorial verification note: The article has been researched against the supplied competitors and authoritative safety references, but exact top-ten competitor word counts and final keyword density have not been independently audited. Those two checks remain necessary before claiming full compliance with your specified quantitative requirements.