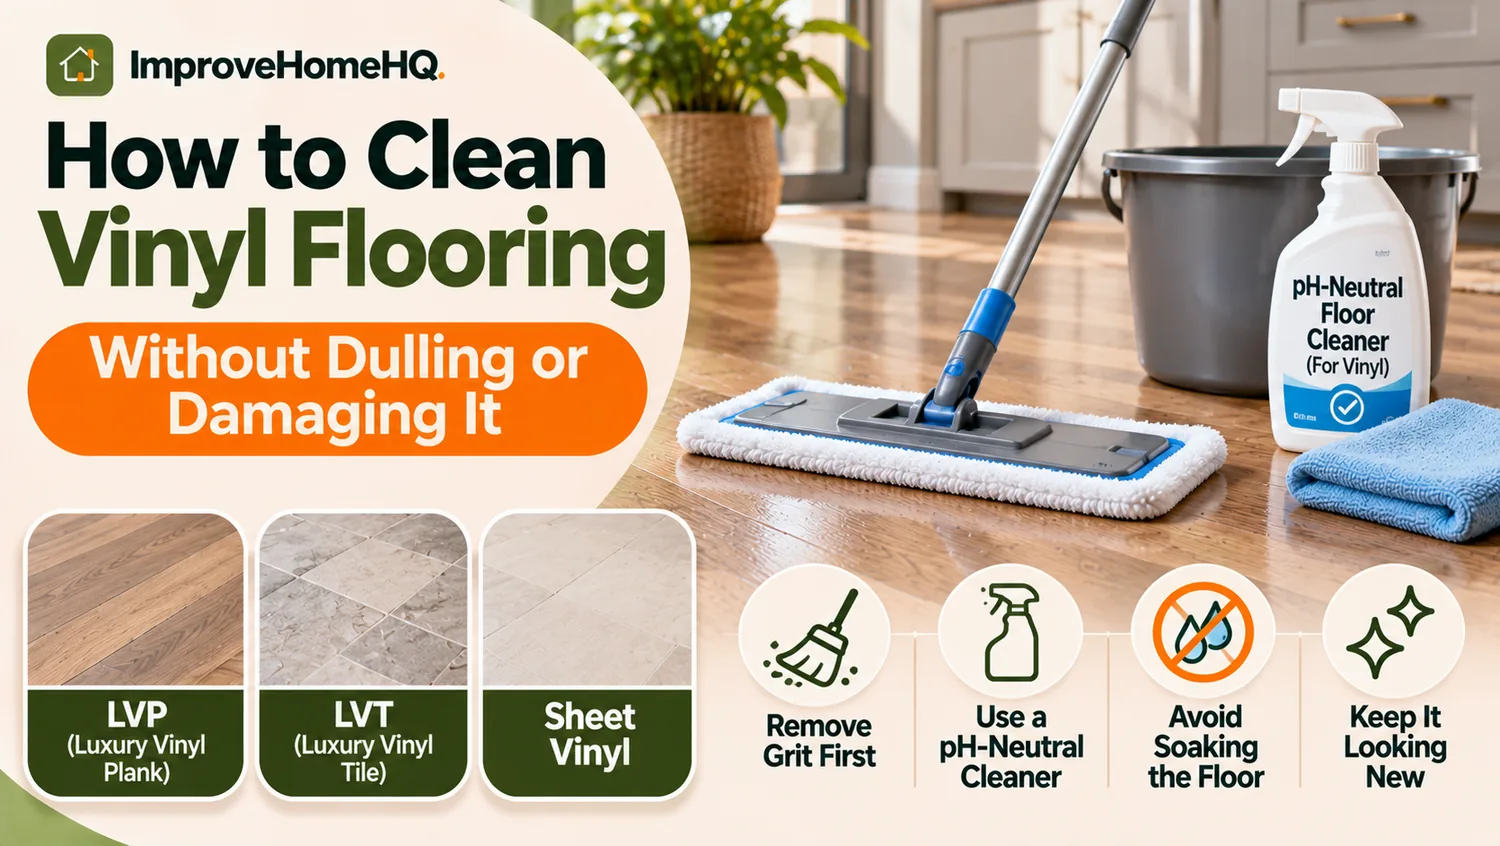
How to Clean Vinyl Flooring Without Dulling or Damaging It
Quick answer: To clean vinyl flooring, sweep or vacuum loose grit with the beater bar turned off. Then wipe the floor with a barely damp microfiber mop and a pH-neutral cleaner approved for your specific vinyl product. Follow the cleaner’s dilution instructions, remove any residue as directed, and let the floor dry. Wipe spills promptly, avoid soaking seams, and don’t use steam, vinegar, or abrasive scrubbers unless your flooring manufacturer expressly permits them.
Vinyl is popular in kitchens, bathrooms, entryways, and busy family rooms because it handles everyday messes well. But a floor that looks cloudy, feels sticky, or leaves socks dirty after mopping usually needs a better cleaning method—not necessarily a stronger chemical.
The basics are simple: remove grit before it scratches the wear layer, use the right cleaner sparingly, and don’t leave water sitting on the surface. The details depend on whether you have luxury vinyl plank (LVP), luxury vinyl tile (LVT), or sheet vinyl, so start by identifying your floor.
Know What Type of Vinyl Floor You Have
Most residential vinyl falls into three categories:
| Flooring type | What it looks like | Cleaning consideration |
|---|---|---|
| Luxury vinyl plank (LVP) | Individual planks, often with a wood-look pattern | Keep moisture out of joints and around edges; avoid abrasive cleaning of textured surfaces. |
| Luxury vinyl tile (LVT) | Individual tiles, often resembling stone or ceramic | Clean textured grooves and joints gently; don’t assume the joints are waterproof. |
| Sheet vinyl | A continuous roll with relatively few seams | Damp cleaning is generally straightforward, but seams, edges, and damaged areas still need care. |
Some products are installed as floating, click-lock floors; others are glued down. A waterproof plank does not automatically make the entire installed floor waterproof. Water can still reach the subfloor through an open seam, damaged edge, or perimeter gap.
Not sure whether it’s vinyl or laminate? Look up the product name on your installation paperwork or ask the installer or property manager. The two materials can look very similar, but their care instructions are not interchangeable. If you’re renting, avoid experimenting with unfamiliar chemicals on an unidentified floor.
What You’ll Need
- Soft-bristle broom, microfiber dust mop, or vacuum with a hard-floor setting
- Clean microfiber flat mop and spare washable pads
- Bucket or spray bottle, if your cleaner calls for one
- Clean, lukewarm water
- Manufacturer-approved, pH-neutral cleaner suitable for vinyl
- Soft, colorfast cloths for spills and spot cleaning
- Dry towel or extra microfiber pad for excess moisture
Choose tools with clean, nonabrasive surfaces. A dirty mop pad can spread grit, while a vacuum with an engaged rotating beater bar may scuff the finish.
Before you begin: Check your flooring brand’s care and warranty instructions. Cleaning rules can differ even between product lines from the same company. Test any new cleaning product in a hidden spot and follow its label; never mix cleaning chemicals.
How to Clean Vinyl Flooring Step by Step
This method works as a safe starting point for most modern residential vinyl floors when the manufacturer’s instructions don’t specify something different.
1. Pick up debris and move lightweight items
Lift small rugs, shoes, and moveable furniture out of the way. Pick up any sharp debris by hand. Inspect the floor for spills, lifted edges, or gaps before adding moisture. If a seam is open or a plank is loose, avoid wet cleaning that area until the problem is addressed.
2. Sweep or vacuum thoroughly
Start at the room’s edges and work toward the center. Use a soft broom or microfiber dust mop to collect dust, sand, crumbs, and pet hair. A vacuum is fine if its manufacturer permits use on resilient floors and its beater bar or aggressive brush roll is switched off.
Pay special attention to entryways, beneath dining chairs, and the grooves in textured planks. Sand and grit can scratch the protective wear layer when dragged under shoes or a mop.
3. Prepare the right cleaning solution
Use a cleaner labeled for your particular vinyl flooring, preferably a pH-neutral formula recommended by the manufacturer. Dilute concentrates exactly as directed. If the instructions permit cleaning with plain water, that may be enough for light soil.
Don’t assume more soap means a cleaner floor. Too much product can leave a sticky film that attracts dirt and causes dull streaks. Avoid mixing dish soap, essential oils, vinegar, or polish into an approved cleaner unless the flooring instructions specifically allow it.
4. Damp-mop in small sections
Lightly moisten a clean microfiber pad. It should be damp, not dripping. Work from the far corner toward the doorway, making overlapping passes. Replace or rinse the pad as it gets dirty so you aren’t spreading grime across the room.
For a heavily trafficked kitchen, you may need a second pass with a fresh pad. Don’t pour buckets of water onto the floor, flood textured grooves, or let liquid pool along baseboards and seams.
5. Remove cleaner residue if the label requires it
Some no-rinse floor cleaners are designed to dry without a second pass; others require rinsing. Follow the product label. If rinsing is required, use a fresh, lightly damp pad rather than soaking the floor.
If the floor still feels tacky, first check whether you used too much cleaner. A fresh pad and the manufacturer-approved rinse method may solve the problem without adding another chemical.
6. Dry the floor and check your work
Allow the floor to dry fully before replacing rugs or walking across it in socks. Blot up pooled water with a dry microfiber cloth, particularly near seams and edges. Good ventilation or a fan can help with drying.
Stand where daylight hits the floor. If you notice streaks, they may be leftover product or uneven drying rather than dirt. Recheck the cleaner’s dilution and rinsing instructions before mopping again.
What Is the Best Cleaner for Vinyl Floors?
A manufacturer-approved pH-neutral cleaner is the most dependable default. It cleans ordinary dirt without relying on strong acids, alkalis, abrasive particles, or waxes. Clean water can work for light dust, but greasy spots often need an appropriate floor-cleaning solution.
Flooring brands such as Shaw and Karndean provide care guidance for their products. Shaw recommends a neutral-pH cleaner and warns against vinegar-based products; Karndean recommends its own floor cleaner or an approved pH-neutral alternative. Their instructions illustrate why internet recipes aren’t universally safe.
| Cleaner or method | General recommendation | Why |
|---|---|---|
| Approved pH-neutral vinyl cleaner | Best everyday choice | Designed for routine dirt without unnecessary harshness. |
| Plain lukewarm water | Often suitable for light cleaning, if permitted | Leaves minimal product residue. |
| Diluted dish soap | Not a first choice | May leave a film; use only if the floor maker permits it. |
| White or apple cider vinegar | Only if explicitly approved | Acidic solutions are prohibited by some manufacturers. |
| Baking soda paste | Use only when specifically permitted | Scrubbing particles can abrade certain finishes. |
| Bleach, ammonia, or abrasive powder | Avoid unless the manufacturer explicitly directs otherwise | Can discolor or damage finishes. |
| Wax, oil, or shine-restoring polish | Avoid on most no-wax modern vinyl | Can create buildup, slip hazards, or a patchy appearance. |
For product-specific guidance, see Shaw Floors’ luxury vinyl care instructions and Karndean’s cleaning and care recommendations. These are examples of official manufacturer guidance, not universal approval for every vinyl floor.
How to Deep Clean Dirty or Sticky Vinyl Floors
If regular mopping doesn’t lift accumulated grime, don’t jump straight to steam, bleach, or a stiff brush. Work in stages.
- Dry-clean thoroughly. Vacuum along edges, under cabinets, and across any textured pattern.
- Check for buildup. A sticky or hazy floor may be coated in leftover soap or a shine product rather than embedded dirt.
- Use the correct cleaner. Mix fresh solution according to the manufacturer’s instructions. Use a clean microfiber pad, not one already saturated with old detergent.
- Work a small area at a time. On textured vinyl, gently agitate stubborn dirt with a soft, manufacturer-approved nylon brush or cloth. Never use wire brushes or scouring pads.
- Lift away dirty solution. Change pads often. Rinse if required by the product label, and dry promptly.
- Inspect after drying. Repeat a gentle pass only if necessary. If a cloudy patch remains unchanged, it may be wear, chemical damage, or an old coating rather than removable grime.
For floors that turn socks black: First inspect the mop pad after cleaning a small test area. If it immediately turns dark, you may be lifting embedded soil or old cleaner residue. If the discoloration continues after careful cleaning with a fresh pad, check for deteriorating surface material or residue from footwear. Repeated aggressive scrubbing can make a worn finish worse.
If you inherited an older floor in a rental, ask the owner what product was installed before trying a specialty stripping treatment. Some vinyl systems have specific restorative products, but these are not interchangeable with generic floor strippers.
How to Remove Stains and Scuff Marks
Start with the gentlest method: blot fresh spills, wipe with a damp white cloth, then use an approved floor cleaner. Test stain treatments in an inconspicuous area and stop if the color or finish changes.
| Problem | First treatment | If it remains |
|---|---|---|
| Food, juice, or coffee | Blot promptly; wipe with damp microfiber and approved cleaner | Repeat gently; do not let liquid collect in seams. |
| Grease or cooking oil | Blot, then use the approved cleaner as directed | Use a fresh cloth and repeat rather than adding excess detergent. |
| Shoe scuffs | Gently rub with a clean damp microfiber cloth | Try a clean tennis ball or method approved by the floor maker. |
| Mud and tracked-in dirt | Let loose mud dry enough to lift safely, then sweep | Damp-mop after grit has been removed. |
| Ink or permanent marker | Blot without spreading | Only if allowed by the manufacturer, dab a small amount of isopropyl alcohol onto a cloth; never pour it on the floor. |
| Crayon, paint, or adhesive | Remove soft residue with a cloth and approved cleaner | Consult the floor maker for a compatible spot remover; do not scrape with metal. |
| Pet accidents | Blot immediately and clean with an approved product | Check the care guide before using an enzyme or odor-removal product. |
Can you use rubbing alcohol on vinyl?
Some manufacturers permit limited spot treatment with isopropyl alcohol for stains that don’t respond to regular cleaning. For example, Shaw lists rubbing alcohol for certain stubborn spots. That does not mean alcohol is safe for every vinyl surface. Check the product instructions, apply it to a cloth instead of the floor, and avoid prolonged soaking.
What about nail polish remover or mineral spirits?
Don’t treat these as universal stain removers. Acetone and other strong solvents can harm certain vinyl finishes or cause discoloration. If a stain won’t budge with approved methods, contact the flooring manufacturer before testing solvent-based cleaners. A small permanent spot is usually preferable to a larger damaged area.
Are scuffs the same as scratches?
No. A scuff is often a mark sitting on top of the wear layer and may wipe off. A scratch is damage within that layer; regular cleaning won’t repair it. Deep gouges, cut edges, or lifted planks may require a floor-specific repair or replacement. Avoid applying oil to hide scratches, because it can leave a slippery residue.
Can You Use a Steam Mop on Vinyl Flooring?
Do not steam-mop vinyl unless the exact flooring manufacturer and product line expressly allow it. Steam concentrates heat and moisture at the surface, and some flooring makers prohibit it. The risks can include softened adhesive, stressed joints, distorted planks, or damage to the wear layer.
A product advertised as waterproof is not necessarily steam-safe. Some brands allow steam under specific temperature, pad, or motion requirements; others do not. An ordinary damp microfiber mop is the safer default when the floor’s identity is unknown.
Can You Vacuum or Use a Robot Mop on Vinyl?
A regular vacuum or robot vacuum can be useful for everyday dust and pet hair if it is suitable for hard floors. Disable an aggressive beater bar where possible, inspect the wheels and brush housing for grit, and keep the machine clean so it doesn’t drag debris across the floor.
For a robot mop or vacuum-mop combination, check both the appliance manual and the flooring warranty. Use only an approved cleaning solution, select a low-moisture setting, and watch the first cycle for pooling around thresholds or plank edges. Don’t leave a wet pad sitting on the flooring after the machine docks.
How Often Should You Clean Vinyl Floors?
Use traffic and visible soil as your guide rather than rigid daily mopping rules.
| Frequency | Task |
|---|---|
| Immediately | Blot spills, pet accidents, and tracked-in moisture. |
| Daily or as needed | Sweep or dry-mop high-traffic areas, particularly near doors and kitchen work zones. |
| About once a week | Vacuum or dust-mop thoroughly; damp-mop busy rooms if soil is present. |
| Every few weeks | Inspect edges, chair areas, and corners for residue or embedded grit. |
| Occasionally | Deep-clean stubborn grime with a method approved for the product. |
Homes with pets, children, frequent cooking, or outdoor dirt may need more frequent cleaning. A low-traffic guest room may need much less. Dry debris removal does more for scratch prevention than constant wet mopping.
Common Mistakes That Make Vinyl Flooring Look Worse
- Mopping before sweeping: Grit gets dragged across the wear layer and can leave fine scratches.
- Using too much cleaner: Excess soap or detergent dries into cloudy, sticky streaks.
- Flooding the floor: Water can enter seams, gaps, or damaged edges even when the vinyl material itself resists moisture.
- Following viral DIY recipes: Vinegar, baking soda, oils, and solvent mixtures are not approved for every flooring finish.
- Scrubbing with abrasive tools: Steel wool, stiff brushes, and rough pads may permanently dull the surface.
- Trying to restore shine with wax: Many modern vinyl products have a factory-applied no-wax finish and don’t need polish.
- Assuming all vinyl is steam-safe: Waterproof performance doesn’t establish tolerance for concentrated heat.
- Leaving rubber-backed rugs in place: Some rubber or latex backings can react with vinyl and cause discoloration.
How to Keep Vinyl Flooring Looking Good Longer
Stop grit at the door
Use a nonstaining entry mat to collect sand and moisture. Check the backing first: rubber or certain latex materials can discolor some vinyl products. Clean the mat itself regularly so it doesn’t become another source of dirt.
Protect the floor under furniture
Add suitable felt pads beneath chair and table legs, and replace them when they collect grit. Use protective boards or appropriate sliders when moving heavy items. Never drag an appliance directly across the finish.
Manage sunlight and heat
Follow your flooring’s temperature and sunlight limits. In rooms with strong afternoon sun, blinds or shades can reduce prolonged exposure. Keep floor-heating systems within the manufacturer’s stated temperature range.
Deal with damage early
Inspect lifting seams, loose planks, bubbles, cuts, or persistent wet areas. Cleaning won’t solve installation problems or trapped moisture. Address the cause before continuing routine damp mopping, especially near sinks, dishwashers, and exterior doors.
Frequently Asked Questions
Can you clean vinyl floors with just water?
Often, yes. A lightly damp microfiber mop with plain water can remove dust and light soil if the manufacturer permits it. For grease, stuck-on grime, or recurring residue, use the recommended vinyl-safe cleaner.
Is vinegar safe for luxury vinyl plank flooring?
Not universally. Some care guides allow a specified dilution, while others, including Shaw’s luxury vinyl guidance, advise against vinegar-based cleaners. Follow the instructions for your exact floor rather than a general homemade recipe.
Why does my vinyl floor look dull after mopping?
Common causes include detergent residue, dirty mop pads, leftover polish, and mineral deposits from cleaning water. Try the manufacturer’s recommended rinse or cleaning method with a fresh pad. If the dullness doesn’t change, the finish may be worn or damaged.
Why does my vinyl floor feel sticky after cleaning?
Too much soap, an unsuitable cleaner, or insufficient rinsing can leave a tacky film. Use the approved dilution and any required rinse step. Avoid piling another cleaner on top of the residue.
Can you use a Swiffer on vinyl flooring?
A dry microfiber-style sweeping pad is generally useful for loose dust. For wet disposable pads or spray-mop liquids, verify the solution is compatible with your vinyl flooring; not every premixed product is suitable for every brand.
Can you use a Magic Eraser on vinyl flooring?
Use caution. Melamine foam works through mild abrasion and can change the sheen on some finishes. A microfiber cloth and approved cleaner should be your first choice. Only use a melamine sponge if the flooring manufacturer allows it.
How do you clean textured vinyl planks?
Vacuum loose grit from the grooves, then use a clean microfiber mop. For dirt trapped in deeper textures, gently work an approved cleaner with a soft nylon brush if the manufacturer permits it. Lift the dirty solution and dry the area; don’t scrub with a hard-bristle brush.
Is it okay to use hot water?
Lukewarm water is a practical default. Avoid very hot water unless the care guide expressly recommends it, because unnecessary heat is not helpful for many resilient floor finishes and adhesives.
Does waterproof vinyl flooring need to be dried after mopping?
Yes. A waterproof surface doesn’t prevent moisture from entering open seams, perimeter gaps, or damaged sections. Drying also reduces slippery patches and streaking.
The Bottom Line
Clean vinyl floors gently and consistently: remove grit, damp-mop with a compatible pH-neutral cleaner, and dry any excess moisture. The manufacturer’s care instructions should settle questions about vinegar, steam, solvents, and specialty products. With the right routine, most everyday messes come off without hard scrubbing or complicated homemade mixtures.