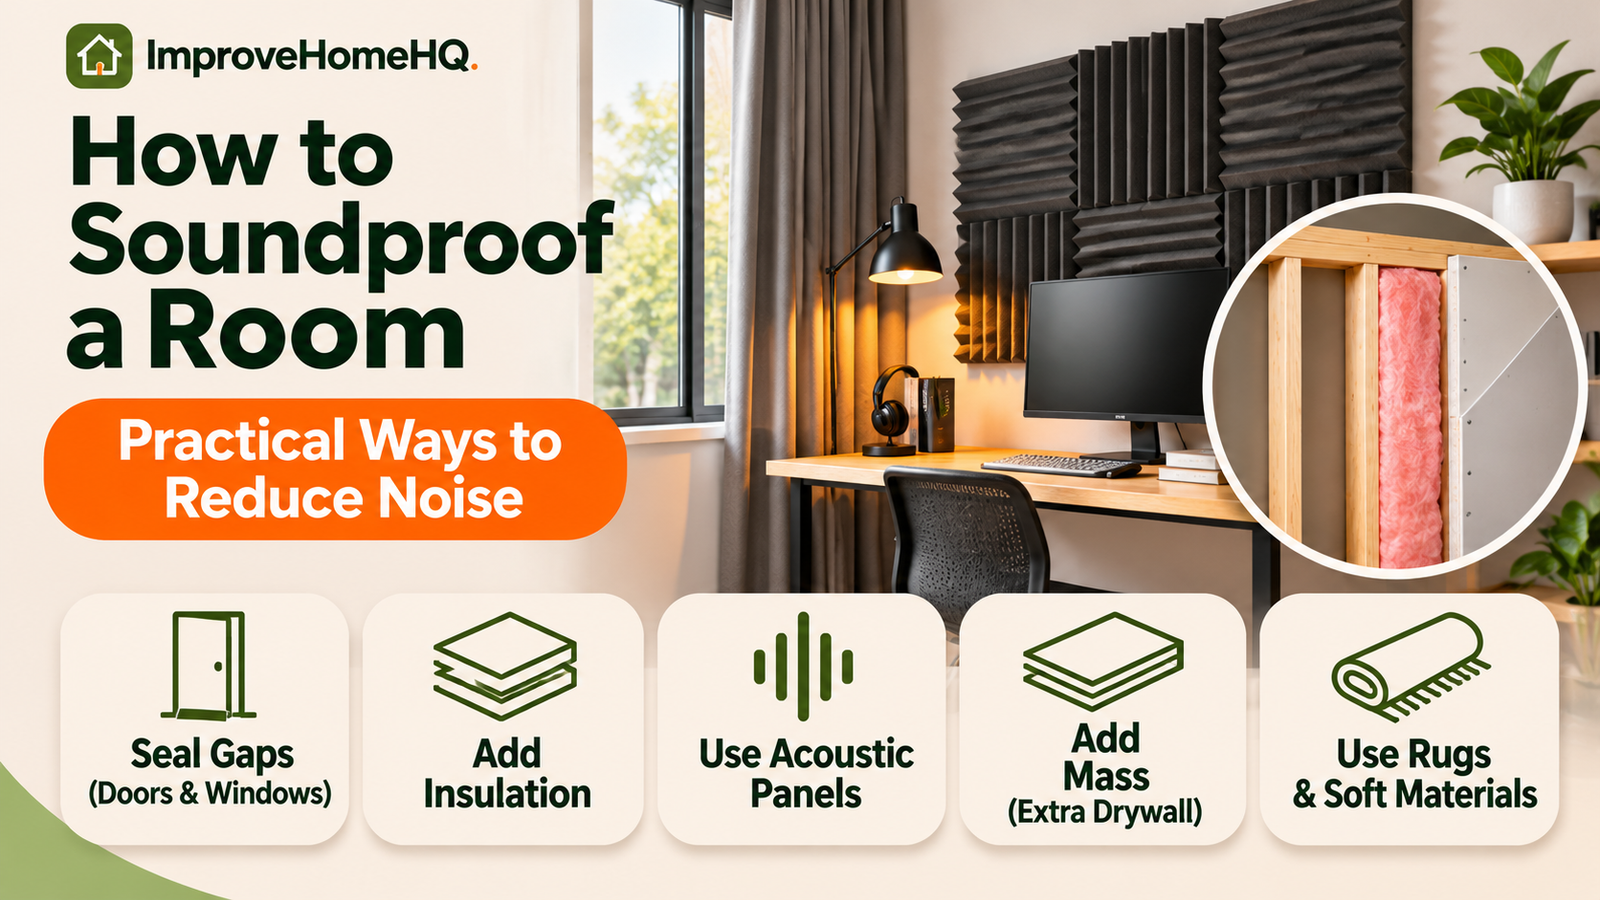
How to Soundproof a Room: Practical Ways to Reduce Noise
Quick answer: To soundproof a room, first identify where noise enters or escapes. Seal gaps around doors, windows, and trim; add weatherstripping and a properly fitted door sweep; and consider a solid-core door or well-sealed window insert. For noise passing through walls or ceilings, a more effective solution may require additional drywall, acoustic insulation inside cavities, and vibration-isolating construction. Rugs and acoustic panels help control echo, but they cannot reliably block loud neighbors, traffic, or bass on their own.
A quieter room can make sleeping, working, gaming, or recording much easier. The trick is choosing improvements that address the noise you actually hear. A soft wall panel can make a room less echoey, for example, while doing little to stop a conversation from coming through a shared wall.
Start with the simplest fixes. If they aren’t enough, you’ll know which part of the room deserves a larger investment.
Soundproofing vs. Sound Absorption: Know the Difference
Soundproofing, also called sound isolation, reduces how much noise travels between spaces. It typically depends on airtight barriers, mass, vibration control, and careful construction.
Sound absorption reduces reflections inside a room. Fabric-wrapped panels, rugs, and upholstered furniture can make speech clearer and reduce reverberation. They are useful for a home office or recording setup, but they are not substitutes for a properly isolated wall.
| Your problem | What usually helps most | What usually won’t solve it alone |
|---|---|---|
| Conversation through a closed door | Perimeter seals, bottom seal, heavier door | Foam tiles on the door |
| Street noise at a window | Seal leaks, add a well-fitted secondary insert | Standard curtains |
| Voices through a shared wall | Seal penetrations, improve the wall assembly | Tapestries or bookcases |
| Footsteps from upstairs | Floor treatments above, isolated ceiling below | Thin ceiling foam |
| Echo during video calls | Rugs, curtains, acoustic panels | Extra drywall alone |
| Deep music bass | Structural isolation and substantial construction | Egg cartons or thin foam |
No ordinary residential project makes all sound disappear. Aim for a meaningful reduction in the noises that bother you most.
Before You Start: Find Out Where the Noise Travels
A few minutes of diagnosis can save you from treating the wrong surface.
1. Identify the type of noise
- Airborne noise: Speech, television, barking, or music traveling through the air and building partitions.
- Impact noise: Footsteps, dropped objects, or furniture being dragged across the floor. These vibrations often travel through structural connections.
- Low-frequency noise: Bass, subwoofers, heavy traffic, and equipment rumble. These are especially difficult to control with lightweight products.
2. Locate the weakest pathway
With a helper generating a steady, ordinary sound in the adjacent area, listen near the door edges, window frame, wall, ceiling, and any openings. Compare what you hear at each point. Don’t use dangerously high sound levels for testing.
Check for visible light under a door, worn weatherstripping, unsealed trim joints, plumbing penetrations, and shared HVAC openings. Noise can also travel around an improved wall through adjoining floors, ceilings, and corridors—a problem called flanking transmission.
A phone sound-level app can help you make informal before-and-after comparisons from the same location and with the same sound source, but it isn’t a calibrated acoustic test. Avoid treating a single app reading as a guaranteed decibel reduction.
3. Match the work to the home
Renters should begin with removable, landlord-approved measures. Homeowners may be able to improve drywall assemblies or replace doors. For older buildings, investigate potentially hazardous materials before cutting or sanding surfaces.
How to Soundproof a Room: Start With These 7 Steps
Work through the room from the easiest leaks to the larger structural problems. You may not need every step.
Step 1: Seal air gaps and cracks
Sound readily passes through openings, so even a well-built wall can underperform when gaps remain.
Inspect the joints between trim and drywall, window casings, baseboards, and visible penetrations. For appropriate nonmoving interior joints, use a compatible acoustical sealant according to its instructions. Use backer rod first where the joint is too wide for a normal sealant bead.
Do not seal ventilation openings, combustion-air pathways, electrical components, or required drainage gaps. Electrical-box work should be handled using approved materials and methods; don’t inject ordinary caulk or foam into boxes.
For an exterior window or door, choose products appropriate for weather exposure and preserve the unit’s drainage design.
Step 2: Soundproof the door
Interior doors are often hollow-core and have generous gaps around their edges. Begin with the opening rather than covering the door with foam.
- Close the door and check the top, sides, and bottom for gaps.
- Install compressible perimeter weatherstripping that allows the latch to engage normally.
- Fit an appropriate door sweep or automatic door bottom. A good seal should contact the threshold without making the door hard to operate.
- If sound still passes through the door leaf itself, consider a solid-core door with compatible hinges, frame, and hardware.
A heavy door only performs well when it closes against effective seals. For high isolation, seek a tested acoustical door assembly rather than relying on the label “solid core.”
Safety: Don’t change the clearance, self-closing action, latching, or fire rating of a required fire door. Door modifications must maintain accessibility and safe egress.
Step 3: Reduce noise entering through windows
A window may be the main weak point in a bedroom facing traffic or an active street.
Start by replacing damaged weatherstripping and sealing appropriate gaps around the frame. If the existing glazing is still the dominant noise path, a well-fitted interior window insert can create an additional sealed pane with an airspace between the layers. Its success depends on the complete assembly and installation—not just how thick the acrylic or glass is.
When replacing windows, ask for published acoustic test data for the specific configuration. Sound Transmission Class (STC) helps compare performance against many common indoor sounds, while Outdoor-Indoor Transmission Class (OITC) is particularly relevant to exterior transportation noise with lower-frequency content.
Heavy curtains may soften sound in the room and modestly affect some noise, but they shouldn’t be expected to match a sealed secondary window. Keep any window needed for emergency escape usable and compliant.
Step 4: Improve a shared wall
If you can clearly understand voices through a wall, first investigate outlet locations, wall penetrations, and adjacent doors. Only after addressing leaks should you consider substantial reconstruction.
An effective wall upgrade may combine:
- More mass: An additional properly supported layer of gypsum drywall, often 5/8-inch board when appropriate for the tested assembly.
- Damping: A manufacturer-approved viscoelastic compound between drywall layers, installed in its specified pattern.
- Cavity absorption: Fiberglass or mineral wool batts fitted inside the stud spaces when the wall is open.
- Decoupling: Isolation clips and hat channel, staggered studs, or separate stud framing to reduce direct vibration paths.
- Airtight finishing: Correctly sealed perimeter joints and suitable details at penetrations.
These are not interchangeable add-ons. Performance is determined by the complete tested wall assembly, including fasteners, framing, insulation, penetrations, and workmanship.
For a modest retrofit, adding a properly detailed drywall layer may be more practical than rebuilding a room. For substantial isolation, a contractor can evaluate a decoupled assembly. Incorrectly placed screws that bridge isolation channels can undermine the intended result.
Don’t assume insulation alone will solve the problem. Mineral wool and fiberglass are valuable inside an appropriate assembly, but a batt pressed against an existing finished wall is not a sound barrier.
Step 5: Address the ceiling and upstairs footsteps
Before purchasing ceiling panels, determine whether you’re hearing airborne sound, such as a television, or impact sound, such as footsteps.
For footsteps, the best opportunity is often at the floor above: rugs with dense underlays, a suitable acoustic floor underlayment, or correctly built flooring can reduce the vibration introduced into the structure. Results depend on the floor construction, and access may require cooperation from an upstairs neighbor.
If work above is impossible, an isolated ceiling assembly using engineered clips or channels, insulation, and appropriately layered gypsum board may help. It is a larger project that needs a plan for recessed lights, ducts, sprinklers, ceiling height, and load support.
Lightweight acoustic ceiling tiles generally target reverberation inside the room; they should not be mistaken for a complete remedy for structural footfall noise.
Step 6: Treat floors and reduce vibration
A rug and a thick, compatible rug pad can reduce footsteps within your room and make hard surfaces less reflective. It is especially useful in rooms with wood, laminate, tile, or other hard flooring.
For a more significant floor renovation, choose an underlayment designed and tested for the exact floor covering and subfloor system. Products must also meet the flooring manufacturer’s requirements.
If noise comes from a vibrating appliance or speaker, reduce the vibration at the source. Properly installed anti-vibration supports may help with some equipment. Don’t place washing machines, heavy equipment, or tall speakers on improvised unstable platforms.
Step 7: Reduce echo with acoustic treatments
After you’ve tackled transmission, improve how the room sounds inside.
Use an area rug, upholstered furniture, fabric-wrapped mineral wool or fiberglass panels, or purpose-made acoustic panels. In recording rooms, placing absorptive panels where strong reflections occur can improve speech clarity; bass traps may help manage low-frequency buildup inside the room.
Acoustic foam is helpful for controlling some reflections, but it won’t make thin walls effectively block neighbors’ voices. Select products with appropriate fire-performance documentation, particularly for wall and ceiling use.
Best Soundproofing Materials: What Each One Actually Does
| Material or product | Main purpose | Important limitation |
|---|---|---|
| Acoustical sealant | Maintains airtight joints in sound-isolating assemblies | Cannot replace missing wall mass |
| Weatherstripping and door bottom | Closes air gaps around doors | Does not strengthen a thin door leaf |
| Extra gypsum drywall | Adds mass to a partition | Gains depend on the entire assembly |
| Damping compound | Reduces vibration between compatible layers | Must follow tested installation details |
| Mineral wool or fiberglass batts | Absorbs sound within wall and ceiling cavities | Not an independent sound-blocking surface |
| Mass-loaded vinyl (MLV) | Adds a flexible, heavy barrier layer | Requires sound detailing and secure support |
| Isolation clips and hat channel | Reduces rigid vibration paths | Poor installation can short-circuit isolation |
| Interior window insert | Creates a second sealed glazing layer | Fit and airspace are critical |
| Acoustic foam or fabric panel | Controls indoor echoes | Limited sound isolation |
| Rug and quality pad | Reduces reflections and some footfall noise | Won’t stop strong bass or all downstairs noise |
About STC ratings: A higher STC usually indicates better laboratory isolation for the sounds included in its test method. However, STC is not the decibel reduction you can automatically expect in your home. It doesn’t fully describe very low bass or impact noise, and an isolated wall may perform poorly if sound travels through its door or adjoining structure. Compare ratings for complete, comparable assemblies.
Cheap Ways to Make a Room Quieter Without Remodeling
You can improve comfort without opening walls. Prioritize changes that match the problem:
- Fix a rattling latch or misaligned door. It can leave a surprising gap even when the door appears closed.
- Add removable perimeter seals. These are particularly useful for hallway noise and may be suitable for rentals with permission.
- Use a rug with a pad. This can cut down on hard-floor reflections and some footfall noise.
- Move noisy equipment. Put speakers away from shared walls and avoid placing subwoofers against a neighbor’s wall or floor.
- Reduce sound at the source. Headphones for late-night gaming and lower speaker volumes often do more for household peace than foam panels.
- Rearrange the room. Moving a bed or desk farther from the main noise source can improve comfort, even without changing the partition.
- Add soft furnishings for echo. Curtains, a couch, and fabric panels can make a bright-sounding room more comfortable, but don’t count on them to stop transmission.
For renters: Choose removable door seals, freestanding acoustic screens for echo control, rugs, and furniture placement before permanent construction. Don’t attach material to a shared HVAC grille or alter a fire-rated apartment entry door.
How Much Does Room Soundproofing Cost?
Costs vary greatly by room size, location, materials, labor, and whether you can access cavities. Instead of relying on a single misleading “cost per room,” build a budget around the specific weakness.
| Project scale | Typical work involved | Budget consideration |
|---|---|---|
| Small DIY improvements | Door seals, caulk, rug pad | Usually the least expensive starting point |
| Moderate upgrade | Better door, fitted window insert, added drywall | Material quality and installation details matter |
| Major retrofit | Isolated wall or ceiling, electrical and finish work | Often requires experienced trades and local permits |
| Studio-level isolation | Multiple upgraded surfaces, door and glazing assemblies, HVAC treatment | Requires coordinated design; costs can be substantial |
For a realistic estimate, measure the surfaces and obtain local prices for the complete installed solution, including trim, paint, electrical work, disposal, permits, and any required fire-rated construction. Ask contractors to specify an assembly or acoustic performance target, not merely promise a “soundproof room.”
A simple planning example
Suppose a bedroom has a shared wall, a hollow-core door, and a window facing the street. Before paying to rebuild the shared wall, test the noise separately: Can you hear hallway voices most clearly at the door? Is traffic loudest by the window? If so, better seals and a window solution may deserve priority. If conversations remain intelligible at the middle of the shared wall with doors closed, a properly detailed wall upgrade becomes more relevant.
Common Soundproofing Mistakes to Avoid
Covering every wall with acoustic foam. Foam can reduce echo, but lightweight open-cell material does little to isolate airborne sound through a wall.
Using egg cartons as soundproofing. Their low mass and gaps make them unsuitable as a meaningful barrier, and they may introduce fire concerns.
Buying “soundproof curtains” expecting silence. Heavy curtains are mainly a comfort and reflection-control measure, not a replacement for sealed glazing.
Ignoring doors after upgrading walls. Sound will take the easier path. A leaky, lightweight door can limit the benefit of an expensive wall retrofit.
Judging a product by its standalone STC. The outcome depends on the whole wall, window, or door assembly and the way it is installed.
Confusing impact and airborne noise. A treatment that reduces speech transmission may do much less for structural thuds and footsteps.
Blocking vents to reduce noise. This can compromise ventilation, equipment performance, indoor air quality, and safety. Ask an HVAC professional about acoustically appropriate duct and grille solutions instead.
When Should You Hire a Professional?
Consider a qualified contractor or acoustical consultant if noise is severe, multiple rooms are affected, you need a defined isolation target, or the solution involves rebuilding walls or ceilings. Professional input is particularly valuable for low-frequency music, commercial recording rooms, condo floor-ceiling assemblies, and complex flanking paths.
Before disturbing older surfaces: U.S. homes built before 1978 may contain lead-based paint. Cutting, sanding, or demolishing painted surfaces can produce hazardous dust. The EPA recommends lead-safe practices and generally recommends using a lead-safe certified contractor for renovation work in pre-1978 homes. Suspected asbestos-containing materials also require appropriate evaluation before disturbance. See the EPA’s Renovation, Repair and Painting guidance.
Also check applicable local building requirements and preserve fire-resistant assemblies, emergency exits, smoke-alarm coverage, and ventilation. If a project changes electrical devices or rated construction, use properly qualified trades.
Frequently Asked Questions
Can you soundproof a room completely?
Achieving near-total isolation is possible only with carefully engineered construction and control of doors, windows, penetrations, structure, and ventilation. Most households should aim for a substantial, practical reduction rather than absolute silence.
What is the cheapest way to soundproof a room?
If noise is leaking around a door or window, properly fitted weatherstripping, a door-bottom seal, and suitable gap sealing are often inexpensive first steps. If the issue is echo rather than transmitted noise, a rug and soft furnishings may help more.
Do acoustic panels block noise from neighbors?
Ordinary acoustic panels primarily absorb reflections inside the room. To reduce noise from neighbors, concentrate on airtightness and the performance of the separating wall, floor, door, or ceiling.
Can you soundproof a room without damaging walls?
You can make improvements using removable door seals, rugs, freestanding absorbers, furniture changes, and—in some situations—removable window inserts. These methods may improve comfort, but they cannot reproduce a fully isolated wall or ceiling.
Does adding insulation to walls reduce noise?
Yes, cavity insulation can improve the performance of a correctly built wall. But mineral wool or fiberglass by itself does not make a wall soundproof. The surrounding gypsum, framing, decoupling, and air sealing all matter.
Is mass-loaded vinyl better than drywall?
Neither is universally better. Both can add useful mass, but they differ in flexibility, installation, expense, and how they integrate with a tested assembly. An extra drywall layer is often a straightforward wall retrofit; MLV can be useful when a flexible barrier is needed. Judge the complete installed system.
Why can I still hear bass after soundproofing?
Low-frequency sound and vibration are difficult to isolate. They can pass through structural connections or travel around the treated surface. A thin foam panel, simple door sweep, or modest wall treatment may reduce voices without substantially changing deep bass.
What is the best way to soundproof a bedroom?
Start by identifying whether the main problem is hallway voices, street traffic, adjacent-room speech, or upstairs footsteps. Treat the weakest route first: doors and windows for leaks, an improved wall for shared-room speech, or floor/ceiling assemblies for impact noise. Add soft surfaces if the bedroom itself echoes.
Final Thoughts
The best results come from fixing the path sound takes, not covering every surface with products marketed as soundproof. Start by locating gaps and weak doors or windows. Use rugs and acoustic panels for room echo. If the unwanted noise still travels through a shared wall, floor, or ceiling, plan an assembly-level upgrade that combines mass, airtightness, absorption inside cavities, and vibration isolation where appropriate.
For a technical explanation of why construction details and sealed openings matter, see the Federal Highway Administration’s discussion of acoustical construction.